Glue is best for longer wear; tabs are best for quick reusable looks.
Fit and starter kit
Fast press-on manicures, fewer questions.
Clear sizing, application, wear, and kit details help shoppers buy without waiting for support.
How to choose
Match each nail before applying.
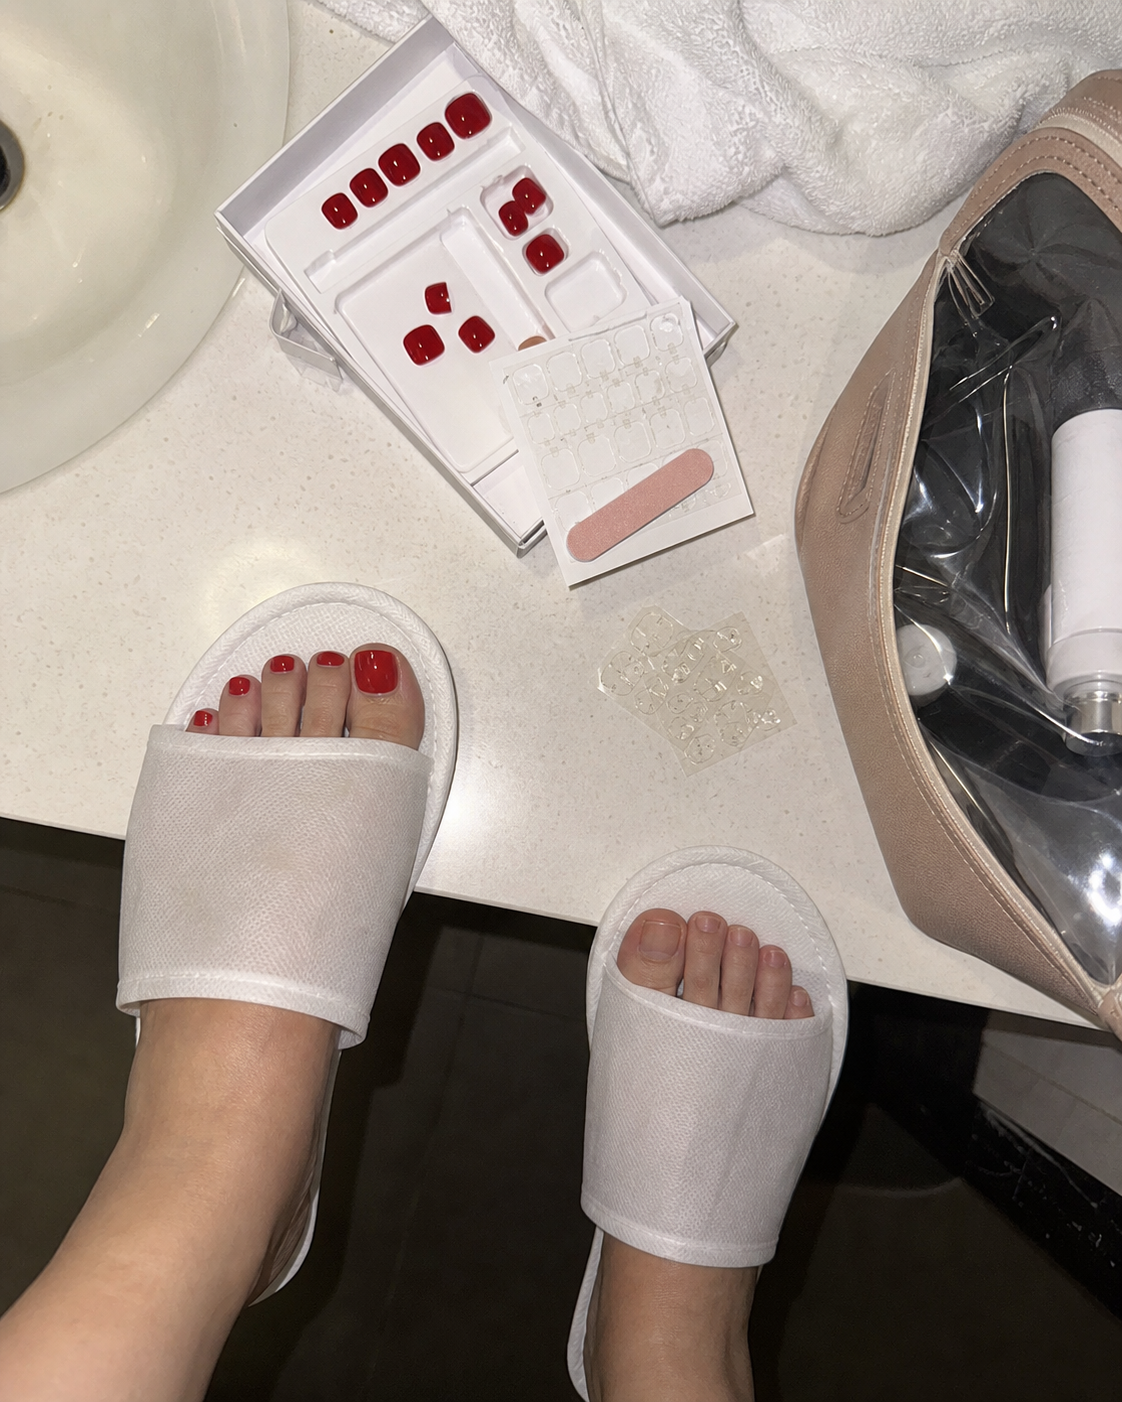
Lay the tray beside bare nails, choose the closest size for each finger, and keep the smaller option if two pieces are close.
ThumbChoose the widest comfortable piece first.
Middle nailsUse the natural curve as the guide.
PinkyTrim or file the edge if needed.
Between sizesPick smaller for a cleaner press-on look.
Measure before a trip
A quick fit check avoids lifting.
Press-on nails look most natural when each piece sits inside the sidewalls instead of pressing into skin. If a piece feels wide, file the edge before applying.
Step 1Place each piece over the nail with no glue or tabs.
Step 2Check the side edges under direct light.
Step 3File the edge in one direction if the piece is slightly wide.
Step 4Lay the chosen sizes in order before applying.
Starter kit
What ships with each set.
The buying path should feel obvious: tray, tabs, glue, prep, file, and travel-ready packaging.
Shop Nail Sets
Press-on nail tray
Glue tab sheet
Brush-on nail glue
Mini file and buffer
Alcohol prep pad
Travel-ready packaging
FAQ
Before checkout.
Yes. Remove gently, store the set, and use fresh tabs or glue for your next wear.
Soak gently, lift from the side, and keep the tray for your next wear.
The checkout route is ready; add live Stripe credentials when payment collection goes live.
Easy first sets